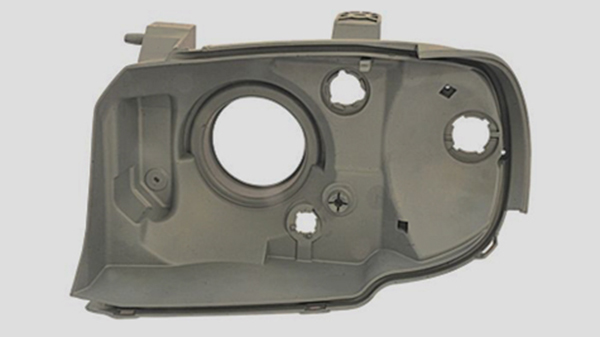
Understanding the working of the process before its implementation is necessary. If you have heard or read about injection molding then you may be familiar with this method also because it also works similarly.
The major difference between both methods is the use of mold tools. The mold tools in the injection molding or rapid tooling are made from metals like aluminum or steel etc. On the other hand, the mold tools in vacuum casting are made of silicone. These are softer than the metal molds.
Here is the step-by-step guide about the working of vacuum casting.

vacuum-casting-product*
Step 1 – 3D Model:
The vacuum casting begins with the modeling of the mold. In the modern era, it starts with 3D geometry or 3D modeling that is easier than the conventional methods.
The products that are designed through vacuum casting uses the same guidelines as rapid tooling or injection molding. 3D laser scanning is also being used in rapid tooling and vacuum casting to create the 3-dimensional output files.
Step 2 – Creating Master Design:
From a 3D CAD model, a master design is created. Traditionally, they were made from CNC machining or were crafted from hands. In this technical era, it is easier to create different patterns. Stereolithography (SLA) or Selective Laser Sintering (SLS) are common 3D techniques that are effective to make patterns.
If you already have a cast model then it can also be used as a master design or pattern. But the pattern should be able to withstand a temperature more than 40 degrees Celsius.
The surface textures of the parts are obtained by spraying or painting the pattern.
Step 3 – Silicon Rubber Mould:
Silicon mold is also created using a master pattern. The master pattern is fitted with casting gates, inserts, cores, and then it is suspended in the casting box. Risers are applied on the part to let the air escape from the mold.
After it, the silicon is poured around the master pattern in vacuum conditions in the casting box. Then it is kept in the oven at 40 degrees Celsius for more than 15 hours. The time may vary according to the size of the mold. When silicon has dried the risers and the box is removed.
Using the right mold release agent will help to avoid any defects in the surface and stickiness.
Step 4 – Pour Polyurethane Resin:
Casting polyurethane resins are heated at 40 degrees Celsius before the mixing phase. Then it is mixed in suitable proportions. Any color pigments are also added in this phase if color is required. The mixture is poured into the bowl fixed on the machine.
In automatic pouring procedures, the mixture is deaerated under a vacuum for 50 to 60 seconds. The vacuum removes the air bubbles that can hinder the flow of the material.
Step 5 – Demould the cast Part:
After the polyurethane or resin casting the mold is kept in a heating chamber to dry. Once the casting is dried it is removed from the mold and additional steps proceed for finer finishing.
